Quick Start - Virtual Reality
As Wonderland Engine is focussed on WebXR, using the WebXR Device API through it is very convenient.
In this tutorial, we will set up necessary components for controller inputs.
We continue where we left off in Getting Started.
Fundamentals
Some background information, feel free to skip to Controller Input, if you are familiar with VR and running WebXR Apps on the Oculus Quest.
Stereo Rendering
Once the VR mode is entered after the user pressed the “VR” button on the bottom right of the screen, the Wonderland Engine autmatically starts rendering in stereo.
“Stereo” means that there is two views rendered: One for the left and one for the right eye. The opposite is “mono”, which is a single view.
When clicking on the “Player” object, you will find the “NonVrCamera” for mono rendering, and the “EyeLeft” and “EyeRight” objects for stereo rendering.
Headset Input
To make the views follow the user’s head, the “EyeLeft” and “EyeRight” have “input” components set up already (from the default scene). Input components read various forms of input poses and apply them to the objects they are attached to.
View on XR Devices
To view on the headset, you need to connect the headset and forward web-traffic
to localhost from the XR headset to your PC:
- Make sure you have “USB Debugging” enabled for your device! On Android Devices this requires tapping the “Build Number” until confirmation shows up, then find the “USB Debugging” settings and enable.
Chromium Based Browsers (Meta Browser, Pico Browser, Edge)
Devices: Meta Quest 1/2/Pro, Pico Neo 3, Pico 4, HoloLens
-
Follow Chrome’s guide on how to remote debug devices. In case the Oculus Quest does not appear, you need to run
adb devicesto get the adb-server started. Adb comes with the Android Platform Tools. -
Finally, forward port
8080following this Chrome Port Forwarding Guide. This way you can accesshttp://localhost:8080/index.htmlfrom within the Meta/Pico Browser and avoid the restriction to “https” for WebXR (this is only possible on “localhost”!).
Gecko Based Browsers (Wolvic)
Devices: Meta Quest 1/2/Pro, Huawei VR, HTC Vive Focus 3, Lynx R1, Pico Neo 3, Pico 4
-
Open Firefox Nightly, find the menu on the top right,
Tools > More Tools > Remote Debugging. -
On Wolvic, go to “Settings > Developer Options > Enable Remote Debugging”.
Avoid the Cable
To enable “ADB over Wifi”, start by connecting your device via USB-C to your PC.
On Meta Quest Developer Hub, you can switch on “ADB over Wifi” and disconnect the device.
For other devices, run the following commands after installing the Android Platform Tools:
adb devices  # Check if your device is connected
adb tcpip 5555
adb shell ip addr show wlan0  # Find the IP address of the device
adb connect <ip-address-of-device>:5555
# Disconnect USB cabel
adb devices  # Check that your device is still connected
Controller Input
Now that our application runs on the Oculus Quest, our next step will be to add controllers.
Controller Models
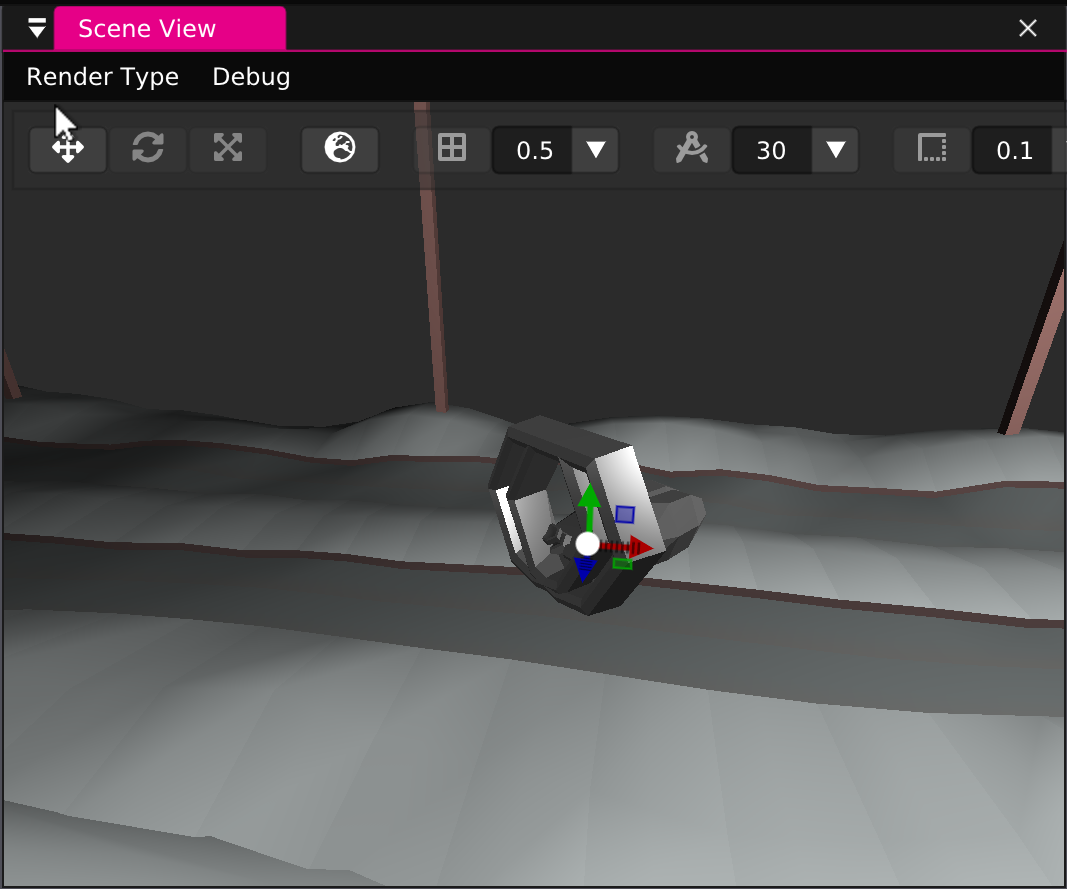
Download quest_controllers.glb, low-poly Oculus Touch v2 controller models by Jezza3D, that were imported into blender and exported as glb with some modification to their transformation.
Drag and drop the new file into the assets folder. From there, drag them onto the “Player”
object.
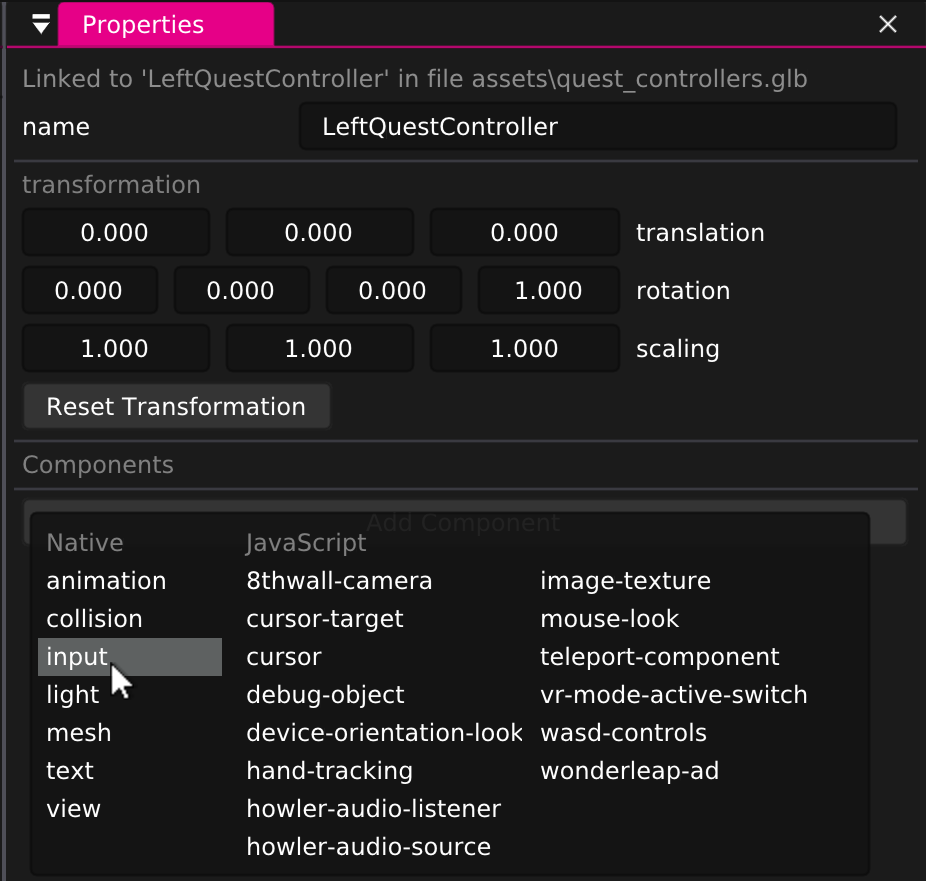
Components
Add an input component to each of the controllers and set the input type
to hand right and hand left accordingly.
After clicking “Package”, your controllers should now be visible and moving around in VR!
Summary
Creating WebXR controls in Wonderland Engine is very convenient.
From here, you can start adding custom behaviour with your own JavaScript components.