Quick Start - Mixed Reality
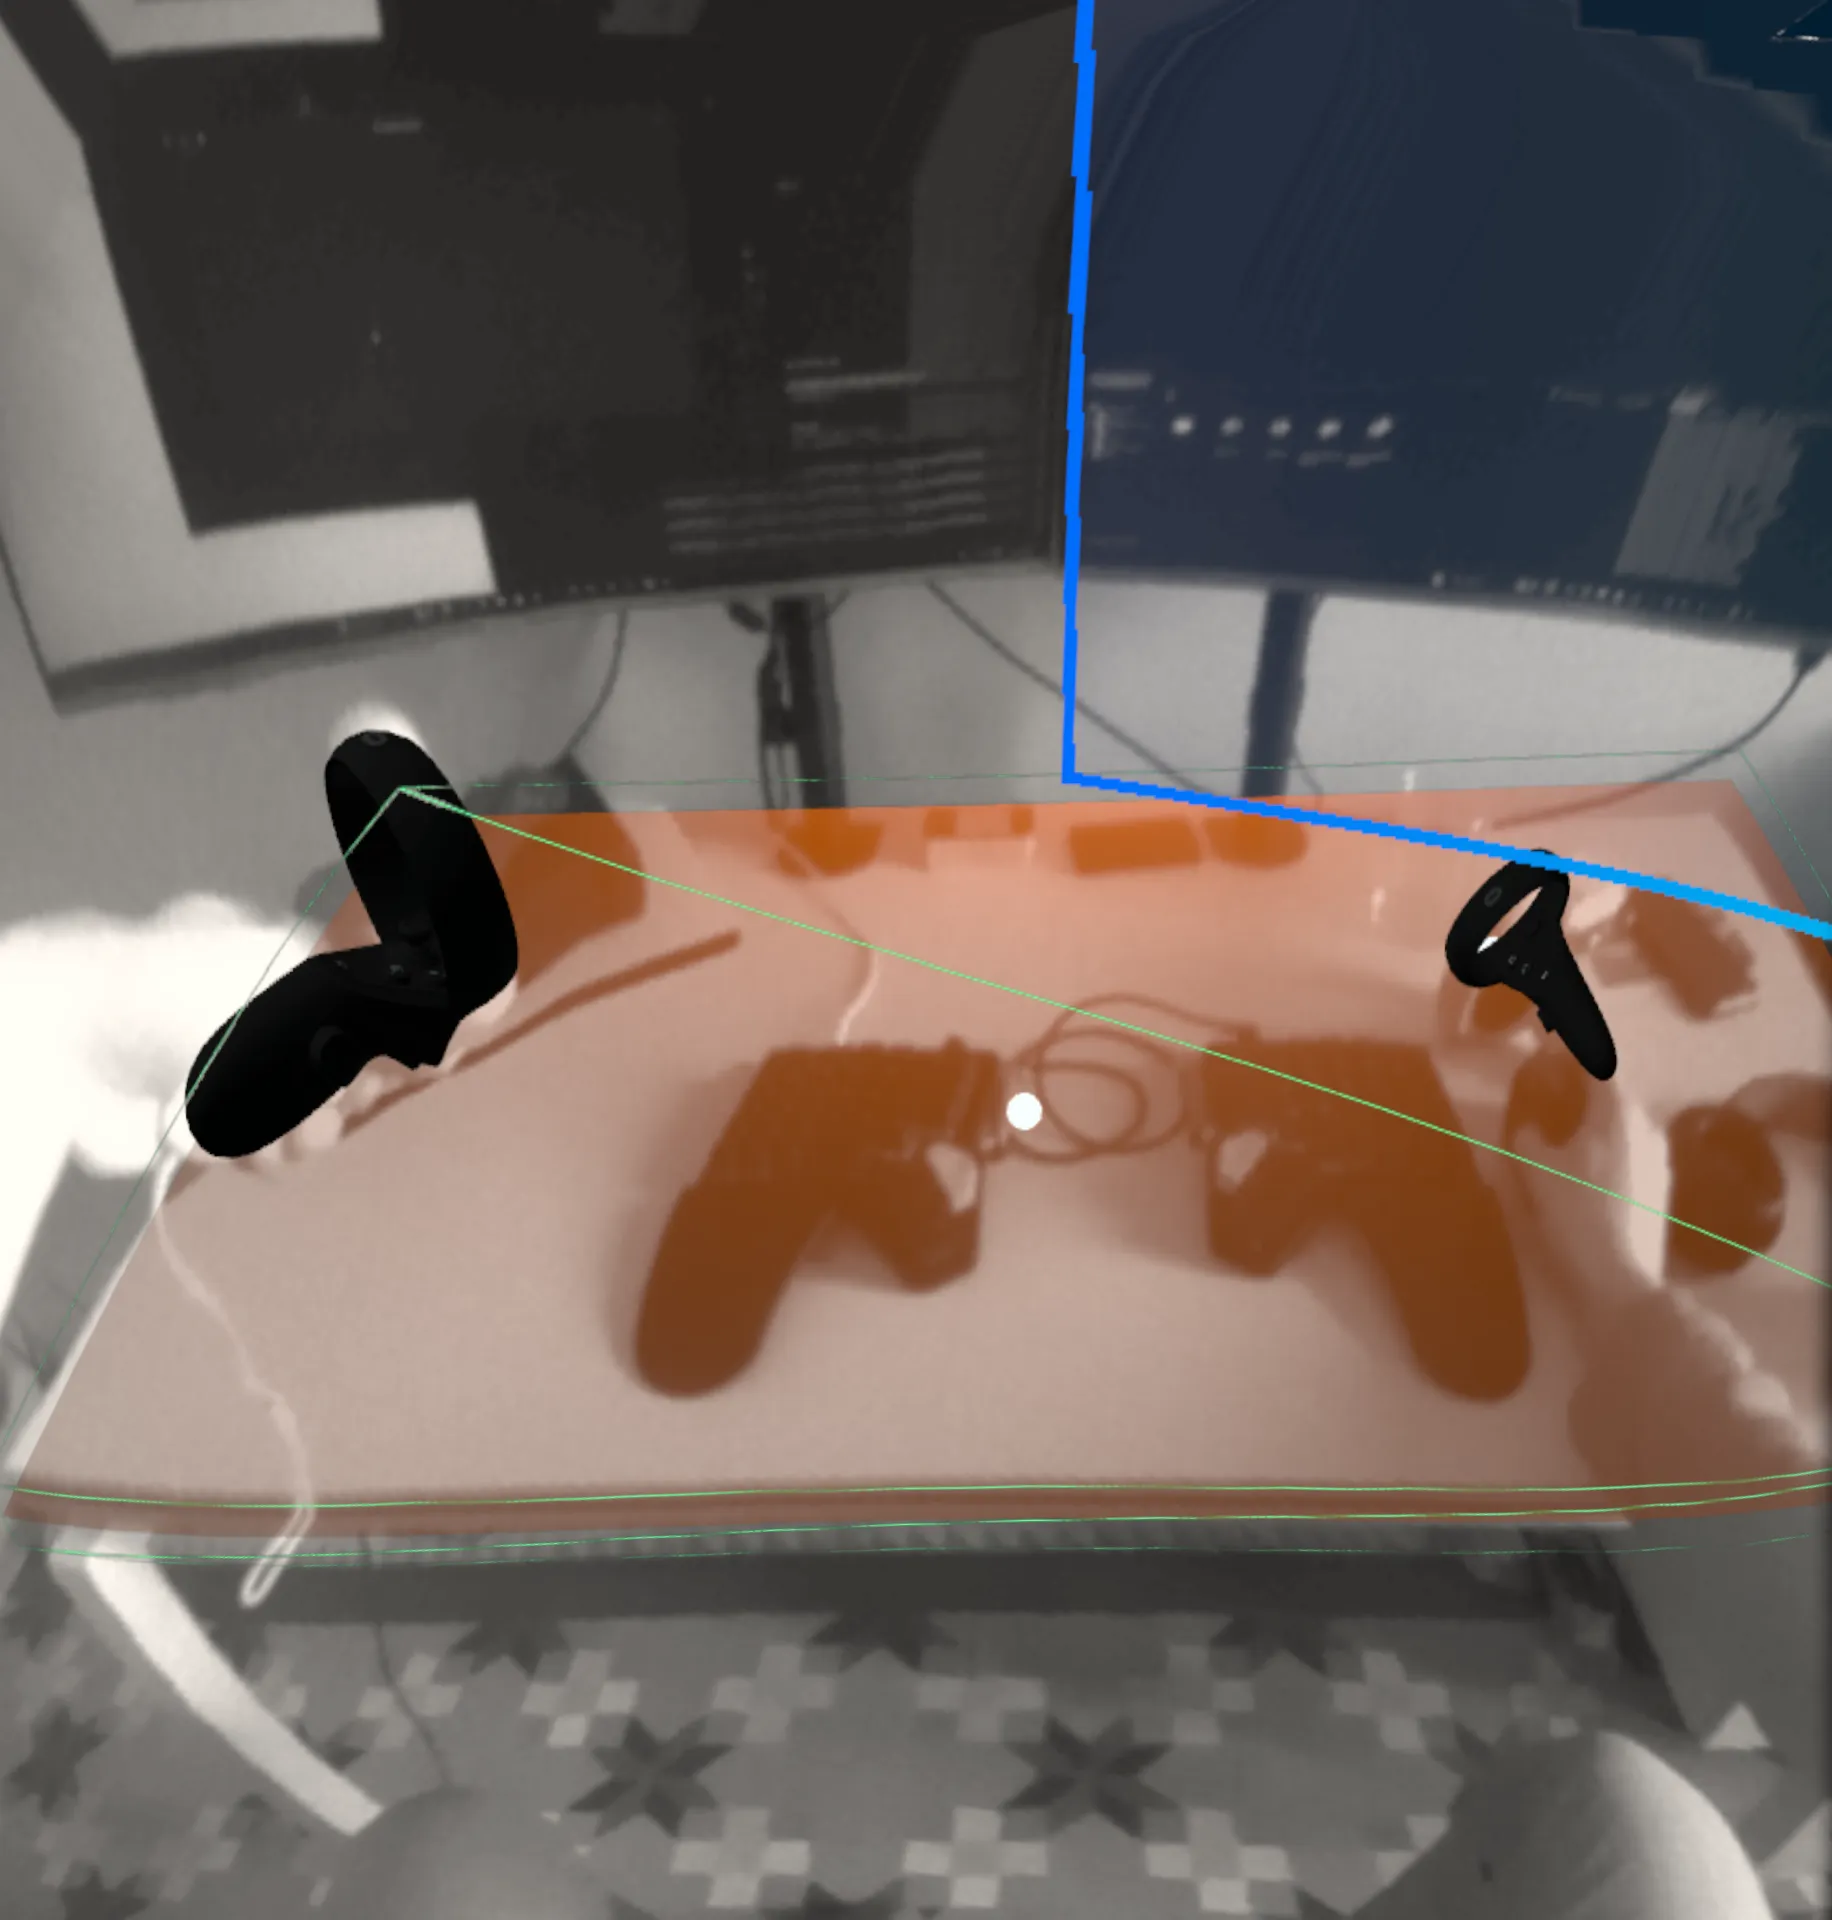
With the latest VR headsets, you often get an “AR Passthrough”, or “Mixed Reality” mode, which lets you see the environment through the cameras on the device.
Using WebXR, we can render 3D objects over the environment, anchoring objects in space.
This guide will show you how to set up rendering, and how to use more advanced features like plane detection or persistent anchors.
Rendering Setup
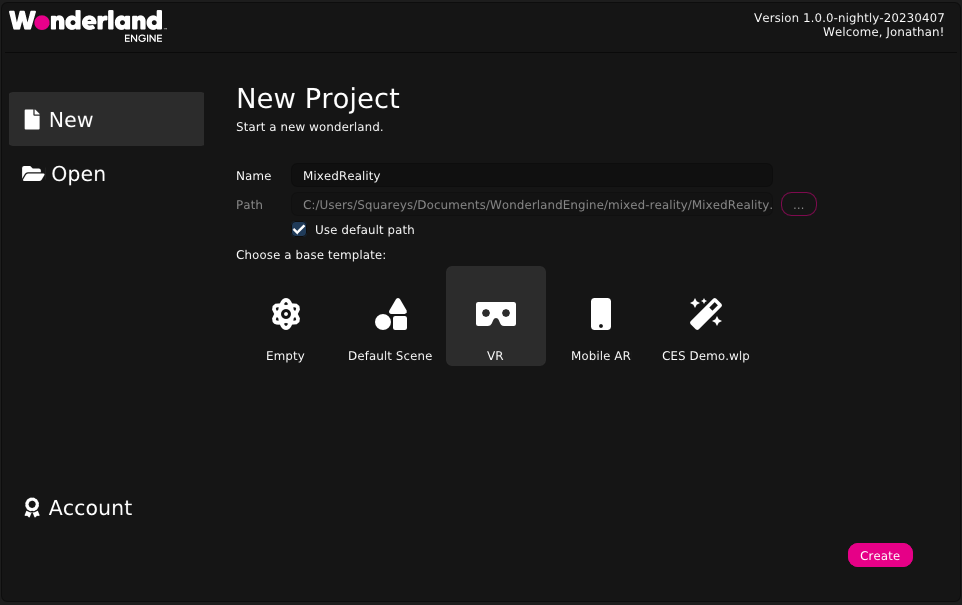
Create a new project with VR setup (e.g., using the “VR” template in the Project Wizard).
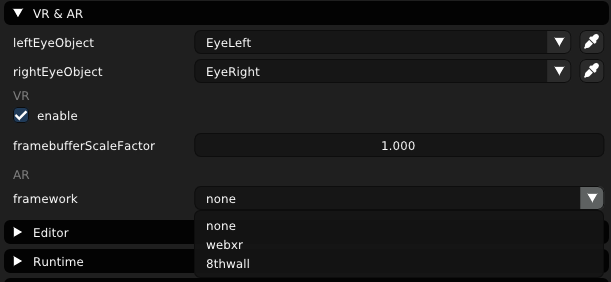
Chose “WebXR” as your AR framework in “Project Settings > VR & AR”.
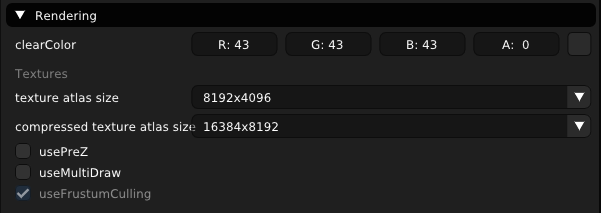
Set clear color alpha to zero in “Project Settings > Rendering > clearColor”.
Plane Detection
To use plane detection, the user needs to set up his room. On Meta Quest, the room setup can be found in your VR headset under “Settings > Guardian > Mixed Reality”. You can set up your walls, desk and couches.
In WebXR, we can use these as planes in our application.
Enable Plane Detection
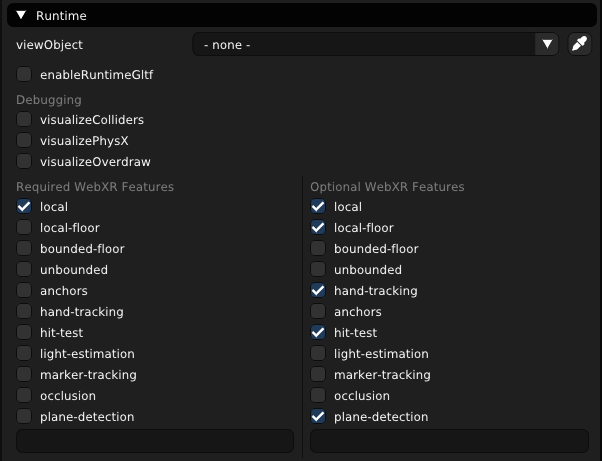
Make sure to enable plane-detection in “Project Settings > VR & AR > Optional WebXR Features”. It is good
practice to keep the feature optional, to support as many devices with your app as possible. If your app
cannot work without the feature, though, add it to “Required WebXR Features” instead.
Using Planes
To manifest the planes into the scene, we provide the “plane-detection” component, which is part of the @wonderlandengine/components package.
It allows you to visualize scenes and add collision or physx colliders. By setting set the mesh property to “PrimitivePlane”
and the material to any material, the component will add a mesh for each plane. Changing the “collision mode” to “collision” or “physx”
will create “collision” or “physx” components.
Hit Test
“Hit Test” describes the feature that allows you to cast rays into the real world and receive a position where the ray intersects with the environment. That allows finding positions to place anchors for example.
Enable Hit Test
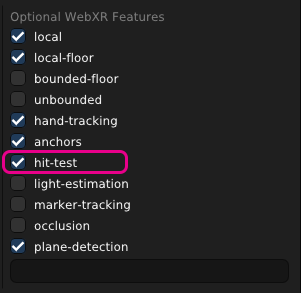
Make sure to enable hit-test in “Project Settings > VR & AR > Optional WebXR Features”. It is good
practice to keep the feature optional, to support as many devices with your app as possible. If your app
cannot work without the feature, though, add it to “Required WebXR Features” instead.
Using Hit Test
We provide the “hit-test-location” component, which is part of the @wonderlandengine/components package.
It will set the position of the object it is placed on every frame. Attach it to any object that you want
to follow the hit test location.
Anchors
An anchor is a point in the user’s mixed reality space, usually placed by the user to pin a 3D object in space. Anchors can even persist in between XR sessions, if the user leaves the page and returns.
Enable Anchors
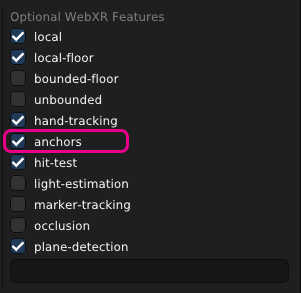
Make sure to enable the anchors feature in “Project Settings > VR & AR > Required WebXR Features”. While it’s usually good
practice to keep features optional, the WebXR Specification
recommends implementation so strongly that it should be supported in any client that supports immersive-ar.
Using Anchors
To place anchors, we provide the “anchor” component, which is part of the @wonderlandengine/components package, and meant to be
created only at runtime.
It allows you to pin an object to a specific AR anchor.